

The best tip to improve your food photography? Find great light!
Light is the most important aspect of photography. Your subject can be the most amazing and captivating one, but if it’s not properly lit, it will not convey an emotion and tell a story, which is your ultimate goal.
Roughly speaking, there are two main components to light, I call them 1) DIRECTION and 2) TYPE.
We can light our subject from any direction we want: front (same direction as the camera), side, back, top, bottom and of course any combination of the above.
The following food shots are examples of light that hits the subject from a variety of angles. By looking at the where the shadows fall, we can identify the main direction of the light. Anything in particular you’re noticing by looking at these food images? You should be able to see that the direction of the light is NEVER the same as the camera. Why? It just does NOT look good, so stay away from that! That means in particular that you should NEVER ever use your on-camera flash (phone or professional camera alike) to photograph your food. NEVER.

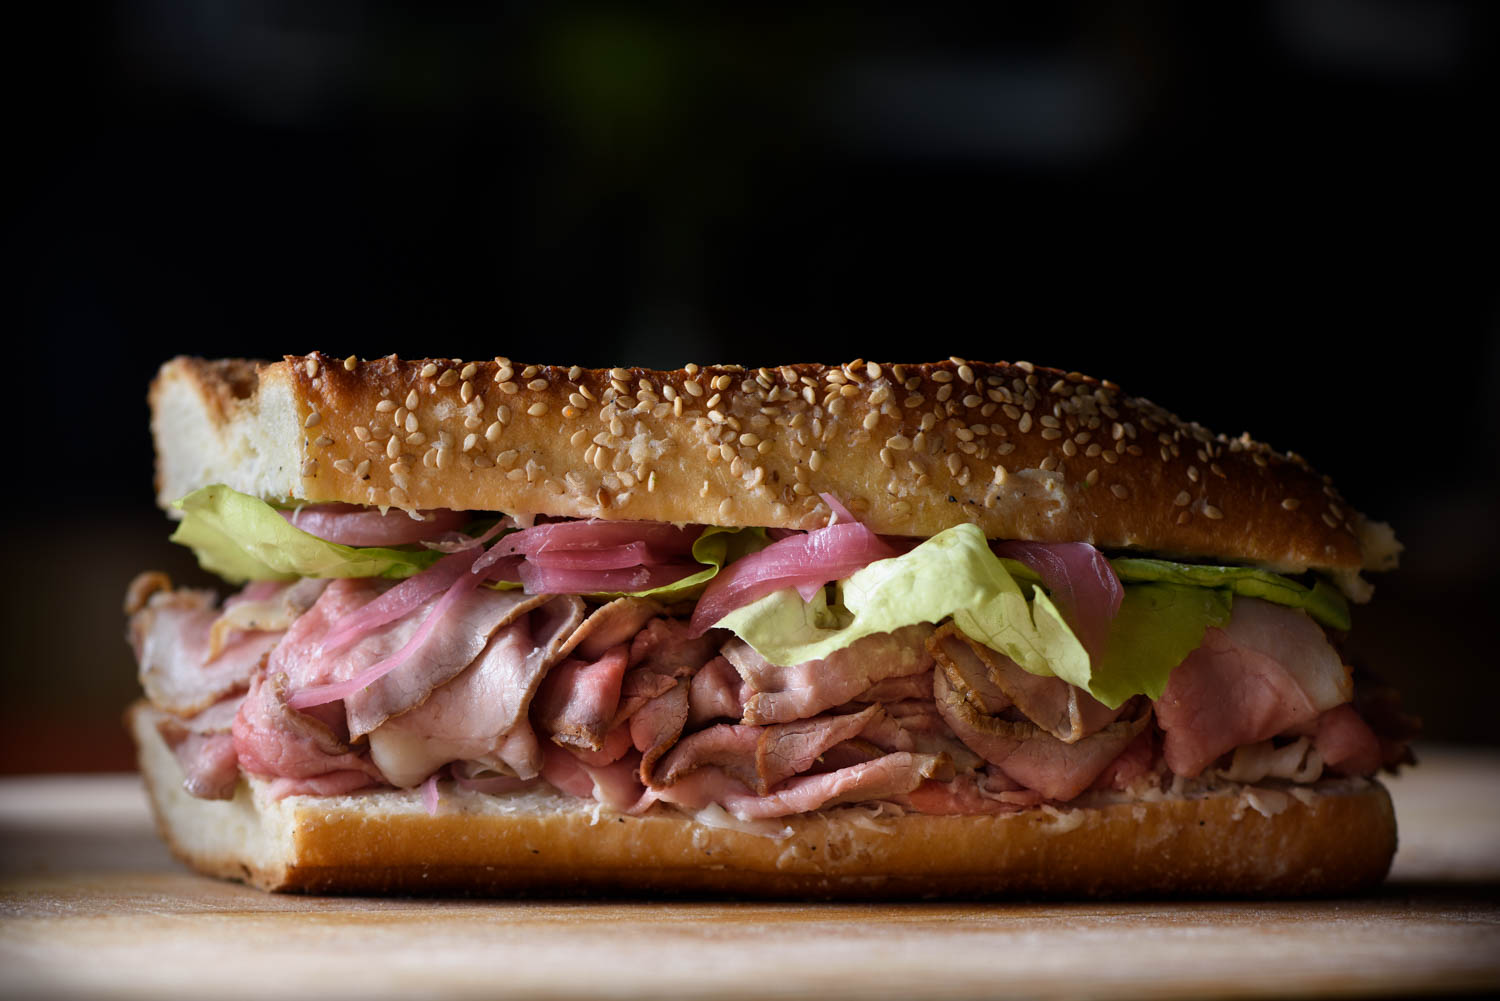
Light coming from the top/back. You can see that by looking at the shadows and on the reflections.
The second variable that we can affect is what I call type of light, which can go from very soft (gives soft and diffused shadows) to very hard (gives very defined and harsh shadows) and that will also play a big role in bringing out that emotional response in the viewer.
I normally shoot with a light source that will give me a relatively soft light, with pretty diffused shadows, yet with some of the darks that go all the way to pure black. These are a few examples.
Single light source from the left hand side.

Two symmetrical light sources, from side/back.
Single light source from side/back
Understanding how to change the direction of light is pretty straightforward, but how do we change the actual type of light? How do we create a soft vs hard light? That is less obvious. It’s not rocket science, although it’s deeply rooted in physics :) All we need to know is the following:
Larger light —> softer shadows
Smaller light —> harsher shadows
So what is ‘large’ and ‘small’? Unfortunately, that depends. What really counts is the physical size of the light relative to the size of the subject and the distance between light and subject.
Smaller distance light<—>subject —> softer shadows
Larger distance light<—>subject —> harsher shadows
Take the sun for example. It’s a pretty big light, right? Yes, but it’s so far away that it actually looks like a relatively small dot to us and that will give you an extremely hard light. Have you ever photographed a person when the sun is up in the sky and it’s hitting their face? It’s not very flattering, as the very hard light will create a very high contrast with very defined shadows that will accentuate all the wrinkles and imperfection in the face.
On the other hand, you could place a small object such as an apple pretty close to a small window (with no direct sunlight) and the resulting light will be very soft, despite the window being a lot smaller than the sun.
Is this making any sense? It doesn’t really matter, just follow the above rules and start experimenting yourself with different directions and types of light. This is crucial in orderer you to understand what YOU love and develop what your photography style ultimately is going to be.
One last thing: keep it simple! All you really need to get going is one window with no direct sunlight, that’s it!
Thoughts? Please share your experience with the community by commenting down below. If you enjoyed this information, please share it on your own channels.
Thank You and Happy Shooting!