1 - Observe! Observe! Observe!

Set aside time to look at images that inspire you and study them. Pinterest is a great resource and it makes organizing photos and concepts very easy.
Where is the light coming from? Is the lighting soft or harsh? Observe angles, composition, colors, etc.
Find images that you really love and try to re-create them. As Pablo Picasso said: “Good artists copy; great artists steal”.
2 - A large window with NO DIRECT SUNLIGHT is your best friend

Using natural light by a large window will take your food photography to the next level. If your window happens to be exposed to the direct sunlight, use a thin white sheet to avoid harsh exposure.
However, artificial light, once mastered, can perfectly mimic natural light and it offers great advantages compared to natural light:
a) Consistent and predictable lighting throughout your shoot(s);
b) Location, weather conditions and time of the day become irrelevant to your results.
3 - Light direction - Always side, back or top light

It is key to NEVER EVER have the light source coming from the same angle or direction as the camera. This means on-camera flashes are an absolute NO-GO!
Use one main light source until you’ve mastered lighting and use light modifiers such as white or black cards to shape the light in the desired way.
4 - Choose your perspective and angle for subject

Some foods lend themselves to certain angles, other foods offer more flexibility and you’ll probably need to shoot from several angles before deciding on your preference.
For example, pizza is normally photographed from above since it’s so thin. However, if you decide to focus on small details of the crust or toppings, a 3/4 view could do that justice. In the same way, it makes more sense to photograph a burger from the side (so you can see all the layers, not just the top of the bun).
There’s not always a clear right answer, so don’t be afraid to play around with different angles and see how you feel about the results.
Make sure to always arrange the food and the props based on the camera point of view. However, sometimes you will not know beforehand what angle is best, so be prepared to style your food from scratch all over again.
5 - Consider shooting on the floor

Your floor can be a great option as a background or backdrop to some really great pictures, as long as it’s nice and clean.
Also, shooting on the floor often eliminates the complication of using a ladder to get high enough for overhead shots.
6 - Keep it simple

Start with the hero and then add items that compliment the hero. Very often less is more. You will be tempted to keep on adding in order to create a great shot. Don’t.
You should start with the protagonist and then slowly add in additional elements. If the additions enhance your hero, they should stay, if they clutter the image, they should go.
7 - Plan your props

Think of the recipe and ingredients and use your props to make the picture more interesting and to tell a story about the food.
Use colors in the right way, contrasting colors normally work well. However, feel free to experiment with colors, you can create very beautiful images even with several shades of just one color.
Props should enhance the food and the image, they should not dominate the food. Napkins, cutlery and anything else that adds texture can help make the image more interesting and rich.
8 - Get some in-action shots
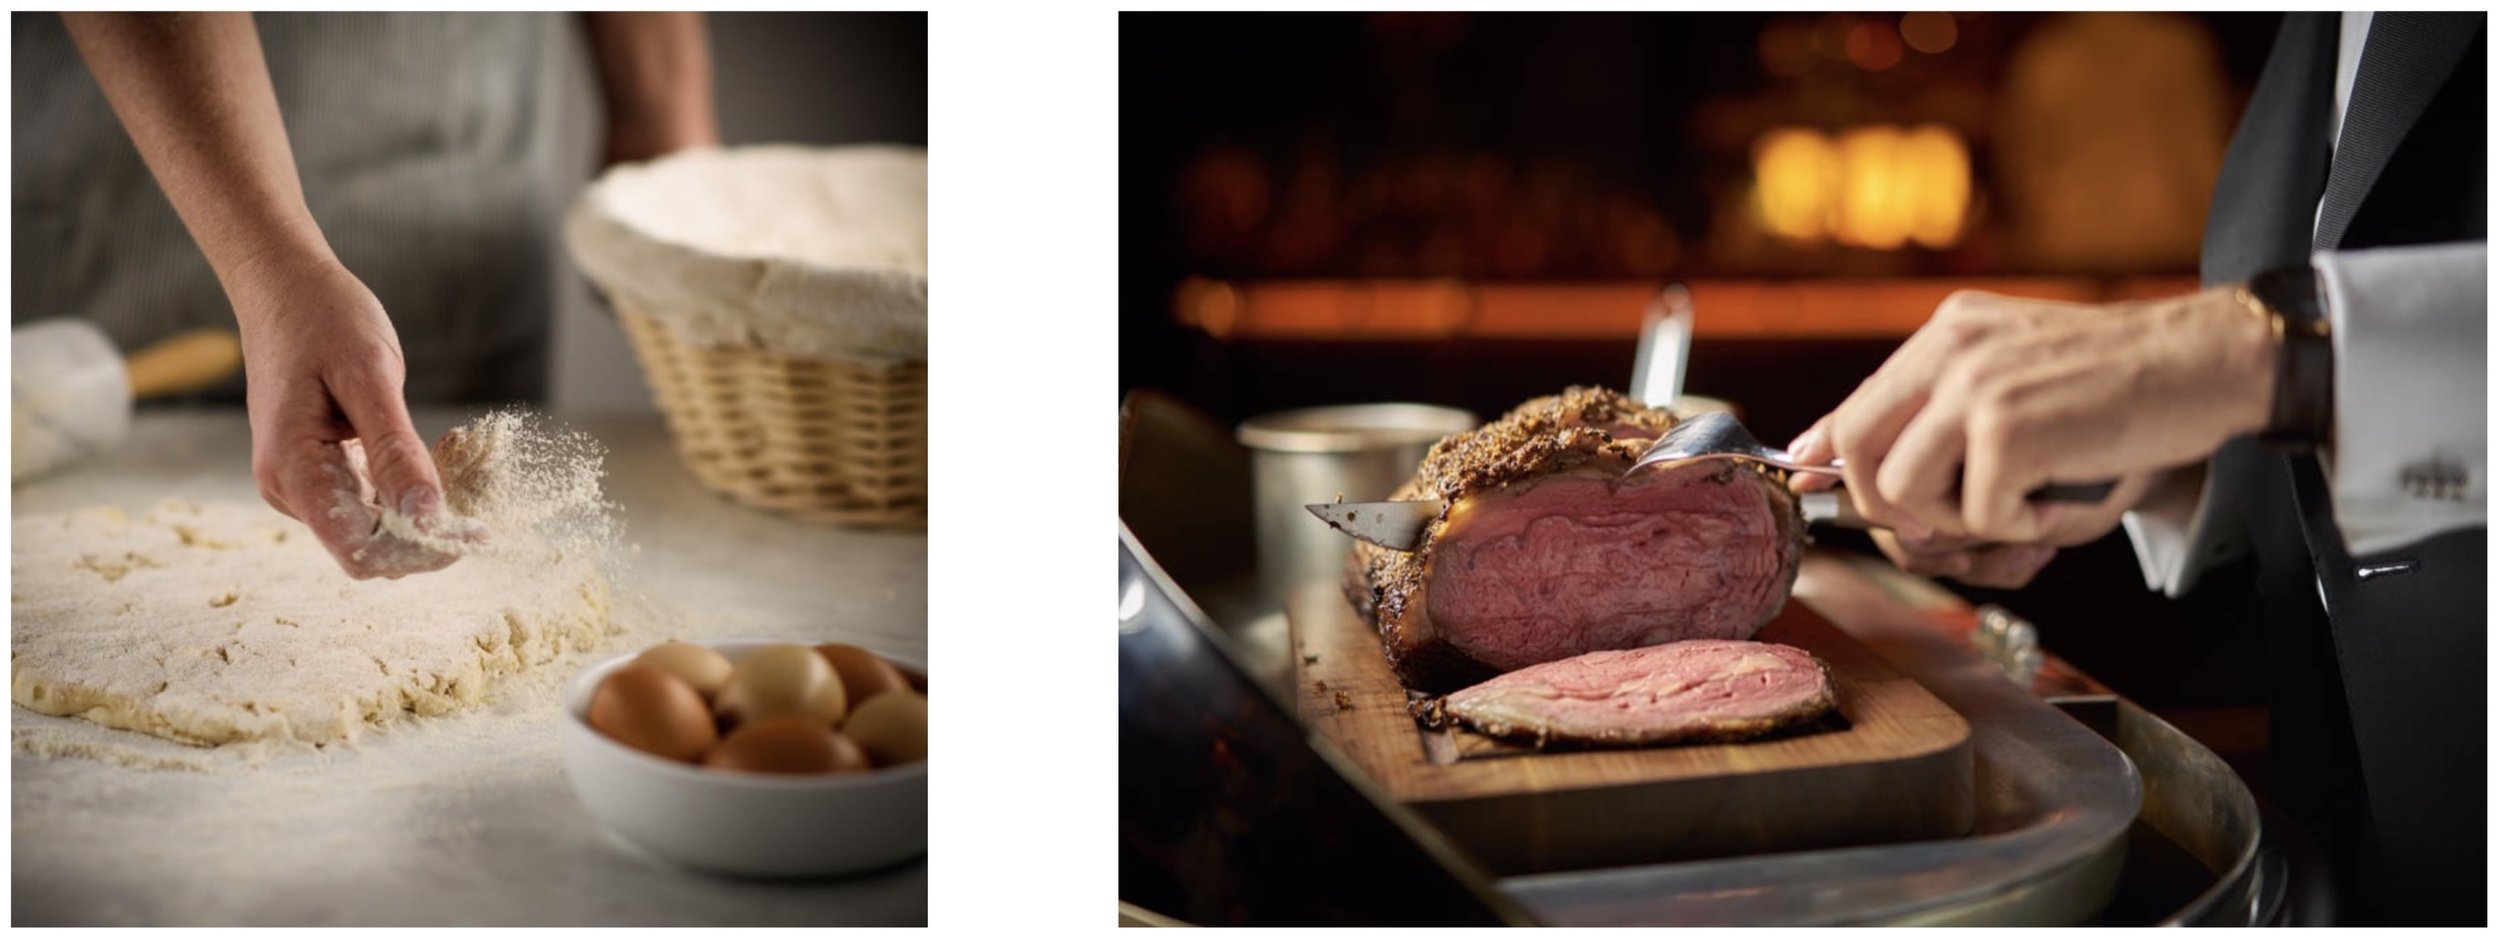
Adding a human element to a food photograph can help to establish context and create a sense of movement.
Action shots bring photos to life and help the viewer imagine making the recipes themselves.
Also, backstage images are great for social media, we are all always very interested to see how a picture was taken.
9 - Crop and composition

An image can be made much more interesting by just changing the crop and/or the composition. Keeping your center of interest out of the middle, even if it’s just slightly off-center, can make the image more interesting.
Negative space can add tremendously to the entire feel of a photo. Your image should take the viewer on a journey throughout the entire photo and all the elements in the image should should serve that purpose.
The ‘Rule of Thirds’ is a great guide to creating interesting compositions. Imagine your frame is divided into 3 vertical and 3 horizontal lines. The subject of the photo should ideally be placed along one of those lines, or at one of the points where those lines intersect.
10 - Learn how to use Lightroom

It’s an excellent image management tool built for photographers. One of the key features of Adobe Lightroom is that it does not edit original images, and instead imports a copy you can edit and later export as a different file.
It makes it very easy to find your images based on keywords and to create books, slideshows, prints and more.
Last, but not least, there’s a ton of available free resources online.